Friday, 28 June 2024

Backdrop Painting Part 2

 After experimenting with my colours I found a blue grey to use as my mountain base. I worked in smaller sections and painted the mountain base colour then used the palette knife to work in white paint for the snow. By dragging the white paint I could block in larger snow fields or smear the white with the mountain base colour to mix the two, creating the illusion of rocks and ridges on the mountains. I was much happier with this technique. The photos here show the results of the mountains. The foreground hills will be the subject of a future post. 

The snow on the high peak near my face was from the first attempt. I'm working from left to right. 


Friday, 14 June 2024

Backdrop part 1

With a few nerves, I decided to scrub in a mountain horizon. I had several landscape photographs in front of me at the time which seemed to help with coming up with a skyline I was happy with. I then scrubbed in the foreground hills. Once dry, both colours appeared too dark. I decided to carry on and see what snow and highlights on the foreground hills would like. In doing so I discovered I'd made a mistake. When I painted the practice board I did each side in one sitting. It was small and the base layer of paint was still damp when you layered on the snow and highlights. This meant the palette knife could mix and blend the colours and create nice transitions. I found trying to smear white paint onto the dry base colour seemed to yield a pretty flat and lifeless scene. 

Given I wasn't happy with the colours anyway I decided to try again and this time, rather than try and do the whole vista at once, I will work in smaller sections. I feel more confident doing this as I have worked out a good recipe for a new mountain background colour. More about that in a future post. 


Before...

After scrubbing in the mountain and foreground hill base colours. 

Looking the other way. I decided both colours were too dark. 

Experimenting with adding snow and definition to the scene.
I decided to paint over this with a lighter base colour and start again. However, even this first attempt demonstrates what an improvement even a basic backdrop can make to a scene. 


Friday, 31 May 2024

Rock castings part 2

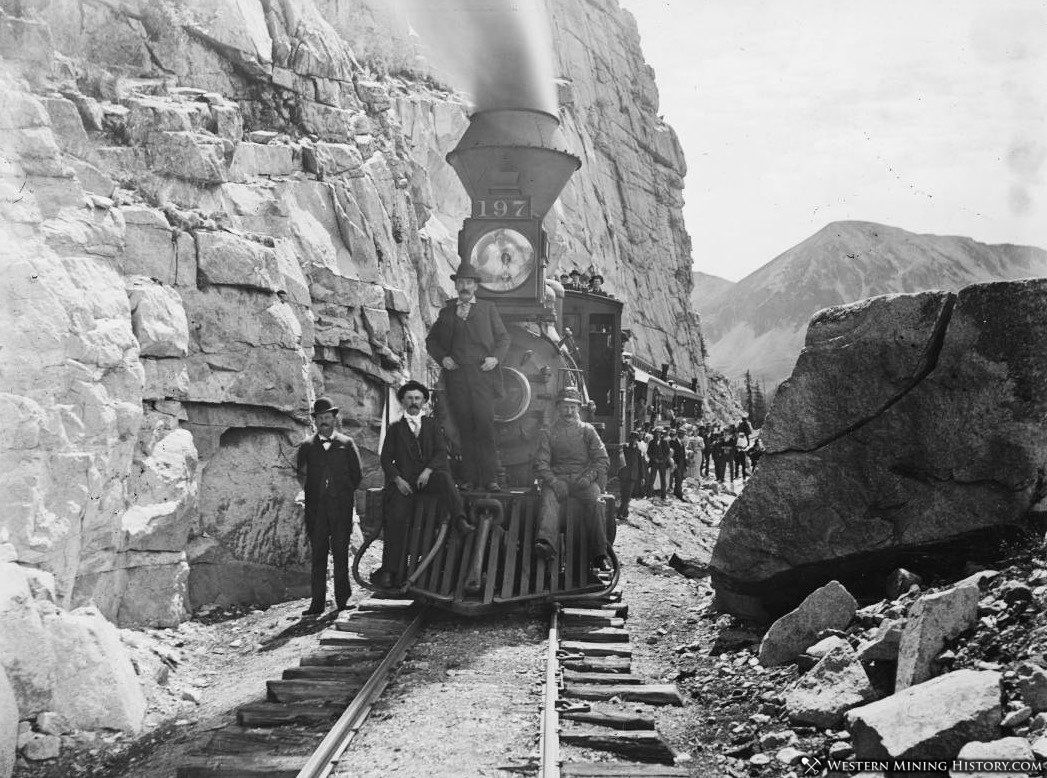
 The ravine module required plenty of rock castings. I enjoy dramatic rocky mountain scenery and this module has been designed to show off little trains among big rock features. 

Using my Woodland Scenic rock moulds I spent several sunny afternoons churning out rock castings of all varieties. I'm not the biggest fan of jigsaw puzzles and fitting them together can be a bit of work. When I place duplicate castings close to each other I try to place one upside down to create more variation. I do like the Woodland Scenics moulds. But more than once I wondered if they could have been made in standard sizes so they could all fit together more neatly. I guess this would risk making them look too uniform and most people probably use the moulds to create small cliffs and outcrops rather than deep ravines. 

I realised that I didn't have as much clearance between the cliff and the rails where they emerge from the tunnel. The tunnel face in particular was a bit close to the edge of the module. I didn't have a rock casting thin enough that would work here. So, inspired by my earlier attempts at rock carving, I covered the foam in a thick layer of plaster and as it set up I carved it with my pick and a craft knife. I had several attempts and had to fill in some areas with more plaster, but overall I was pleased with the results. After getting onto my second 5kg bag of plaster, I started to worry that too many castings would make this module heavier than I wanted. So I used this same carving technique for all the rocks on the left side of the ravine above the rails as it didn't call for as much plaster as individual castings. This also gave a nice seamless corner where the two cliff faces meet. 

After completing the left side I ran out of inspiration and left it for a few weeks. But when I returned to it I found the right-hand side went much faster than I expected. I used a little plastic palette knife to plaster over the gaps between the moulds. I then used my carving techniques to blend the textures between the castings. 

I removed the temporary plywood bridge and then cut a single span of plywood just narrower than the railroad ties and painted it brown. It supports the track nicely and gives a mocked-up look of what a girder bridge may look like. I used some scrap bits of metal to mock up where the steel viaduct supports. Because I need a solid place to build foundations for my steel viaduct supports I used some large castings to make an uneroded island in the middle of the river. At present it looks quite round due to the shape of the castings, but I will work it into more of a teardrop shape with rocks and gravel to model the sediment deposits that build up behind solid objects in the river flow. 

Yellow foam ravine. Not very scenic just yet. 

In this photo, the left side of the ravine is finished.
The rocks from the rail upwards were carved by hand.
My experiment with the large backdrop is in the background. 

The castings for the right side of the ravine being fit together before
blending the castings together with more plaster. 

The completely 'rocked' ravine, including an island
in the middle of the river.

The initial temporary bridge was replaced with a narrow piece of plywood, painted brown to blend in. The thin bits of scrap metal mock up where the viaducts steel supports may be planted. 

Right now the rocky island looks quite round. I'll extend it to more
of a teardrop shape using other scenery materials later on. 


Friday, 17 May 2024

Backdrop practice

 I enjoyed painting the backdrop for the last layout. Chris Lyon's videos on YouTube were super helpful and gave me the courage to give backdrop painting a go. 

This time I wanted to improve the look of my mountains and found some videos about painting mountains with a palette knife. I found a long piece of scrap 3mm MDF and started to paint. I started with just half the board and finished a scene. Then another day I tried to fill in the other side of the board and varying my technique. I found the palette knife technique helpful for giving texture and shape to the mountains. A brush smoothes things out too much. 

The next step will be to upscale and try and translate my learnings onto the larger canvas of the module backdrops. I am aiming for a higher horizon line. This gives the effect of the hills and mountains being closer rather than too distant. I feel a low horizon line makes me feel like I am looking down on the scene from a 'drone point of view'. A high horizon line will give the viewer the impression they are really in the scene looking up a the mountains. After all, I am trying to recreate the feel of mountain railroading and my line is set in the heart of the mountains. 

An aerial view of the practice board as a work in progress. 

The completed scene on the right hand side of the practice board.
I didn't give much thought to composition rules. But the lake would look a little
better if it was slightly more to the left. 

The completed mountains on the left side of the board before adding the foreground. 

The completed scene propped up against the module backdrop. The first attempt at scrubbing in the outline of the mountains on the module can be seen behind it. 


Friday, 3 May 2024

Rock casting part 1

After ballasting the yard I made a start in casting rocks. I needed plenty and use the Woodland Scenics rock moulds. The plaster that I had on hand seemed to do fine when mixed with my ground cover dirt, but the rock castings I made with it had a chalky texture. I wondered if it had been sitting too long. I discovered this after painting and staining the first rock moulds I had fitted to the hillside above the town where a lot of the detail sadly got washed out. They looked quite featureless and dull. I bought some new plaster, which fixed the problem going forward. 

I thought I would have to pull out the failed castings and refit and shape new ones. But before I did that I thought about carving the old castings to see if I could put more detail into them. I hacked and chipped away at the castings using a pick and a craft knife. They didn't look too bad at all, so I decided to leave them in place. This gave me the confidence to try carving rocks on another part of the layout, so it was worth experimenting with. 

The rock castings before blending them together and painting. 


The final result after carving the castings and painting. 


Saturday, 20 April 2024

Modelling crowned ballast


Most of the ballasting so far has been in the yards. But I have done a short section of the mainline. I'm modelling an old technique for ballasting the track used before the turn of the century called crowned ballast. instead of nestling nicely between the ties the ballast is heaped up in a pile down the centre between the two rails. Like a crown on a modern road, the crowned ballast was supposed to help water drain away efficiently. Apparently, it kept settling over time and the jury was out on whether or not it improved drainage. So the practice was eventually abandoned. Another interesting quirk of modelling railroads at the turn of the 19th century. 

The crowned ballast has settled between the rails in this photo of
locomotive 197 on the old South Park Line circa 1895 

The ballast on the track in the right has more of a crown to it.

Ballasted mainline as we are familiar with it. No ballast on top of the ties.

The mainline with a crowned ballast running down the centre between rails.


Friday, 23 February 2024

Ballast, cinders and ashes

After painting and dirt texturing, the last layer (before greenery) was the ballast. Because I'm modelling an engine servicing facility, I wanted to add some ashes around the yard. I know railroads often ballasted yard tracks with cinders as they had plenty of them. But I also wasn't sure how it would look, I didn't want the whole yard to be dominated by the dark cinders. I added cinders in front of the roundhouse tracks, and the ends of the turntable approach tracks, with some spilling over into the turntable pit. I also added some to the caboose track (foreground closest to layout edge) and the Maintenance of Way train track (rear beside the coaling tower). 

The layout ballast is a mix of woodland scenic fine buff and a little fine brown ballast. I also added some buff ballast from a New Zealand scenic material company (Scenic Textures). Their buff colour dried a little too much like a light grey for my liking. 

I misted wet water over the layout and glued down the ballast with scenic cement (Mod Podge and water 1:3 ratio). Because there is such a large area being ballasted in the yard and there were so many switches to be mindful of, it took me several attempts to make sure I had glued everything down. 

I'm modelling a different style of ballasting on my main line, which I'll cover in a future post. 


The ballast in place before gluing down with Mod Podge. It dries every so slightly darker. 

Again, ballast on the left before glueing. But this shot gives a good view of the buried team
and stockyard tracks.