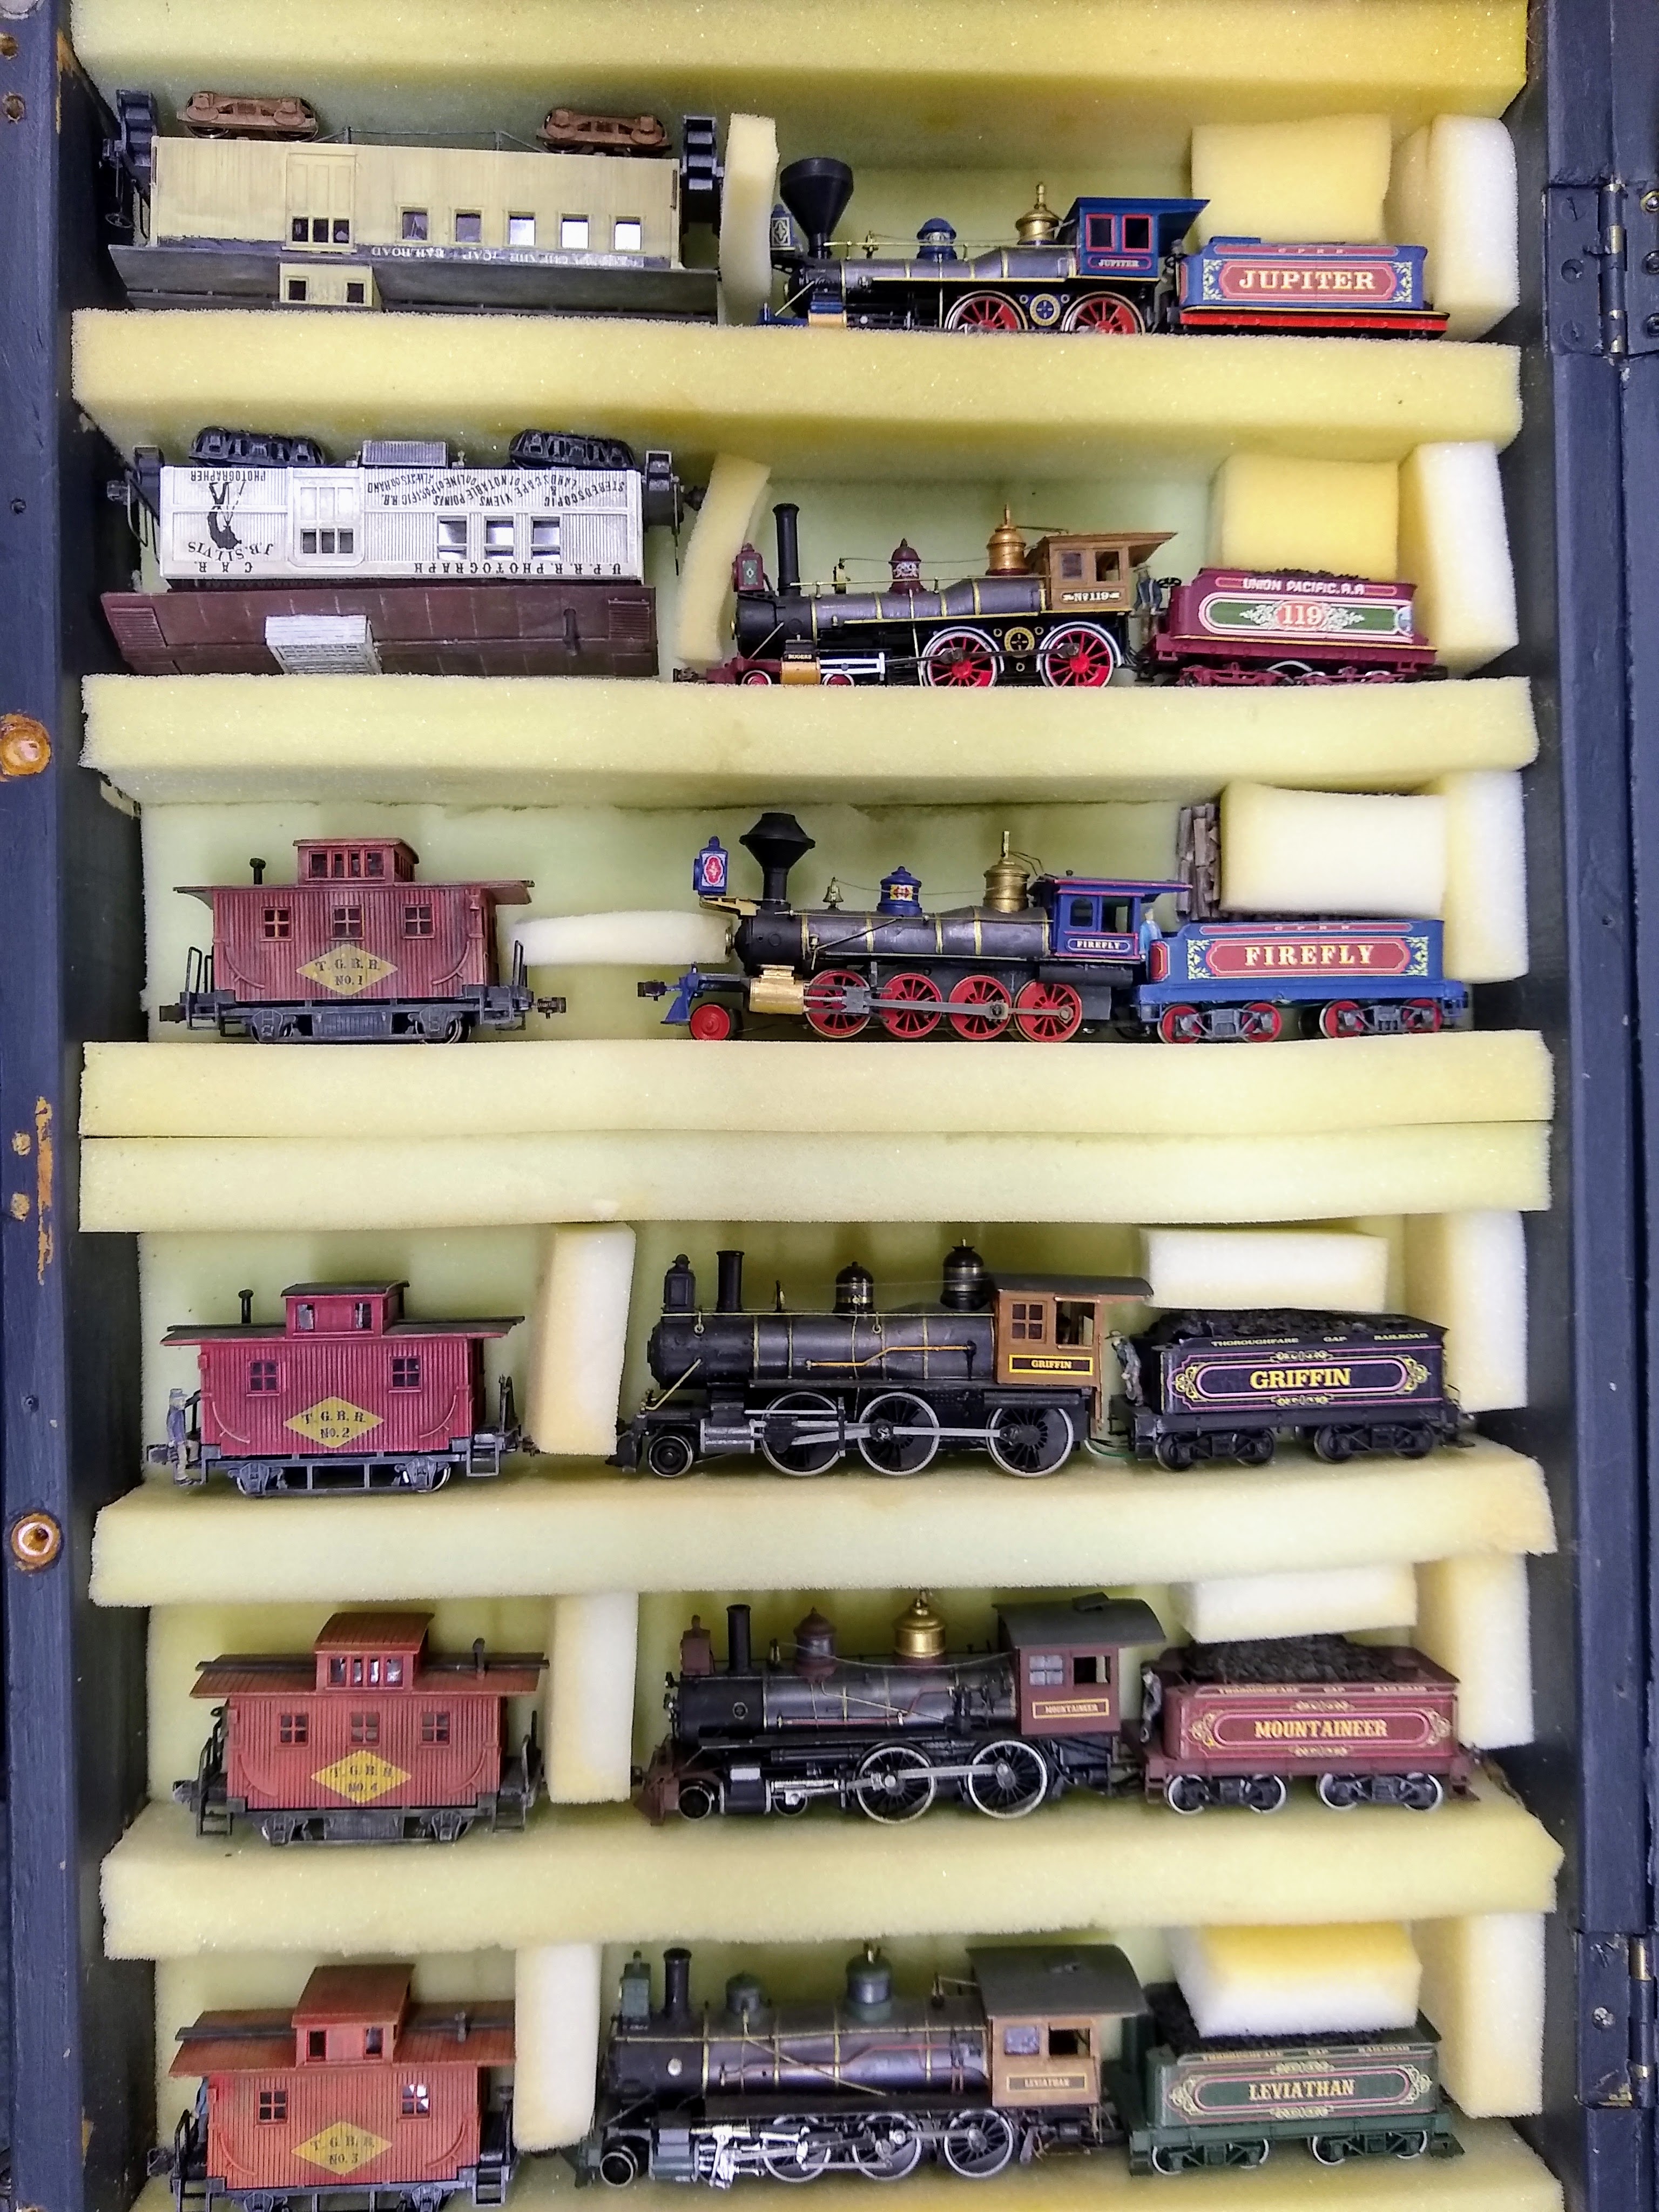
Showing posts with label Layout overview. Show all posts

Friday, 21 March 2025

Decommissioning the original Thoroughfare Gap Railroad

I started building the original Thoroughfare Gap Railroad in 2008. It was a traditional tabletop layout, and the first I truly built myself. The track layout was inspired by Ron Hatch's Fulton County Narrow Gauge layout (HOn3) but had to be adapted for the HO scale. 

The times of this layout were really special. I experimented with different scenery techniques and found many things that worked and many that didn't. The biggest drawback I found in the end was the steep grades, which added plenty of scenic drama but limited the size of the trains I could run. When I expanded the layout, I enjoyed 'unfolding' the track plan and stretching it out along narrow modules with more scenery and less trackage. 

In many ways, I said 'goodbye' to this layout when we moved it from Gore to Timaru. I knew its days were numbered and it had served its purpose. I had a two-year reprieve while it served as the temporary terminus for the new modular layout. Even so, it was hard to let go of. I decided to salvage what I could of the bridges, all the points/switches and anything that could be removed easily. The rest was loaded on a trailer and taken to the local refuse station. Decommissioning a layout comes with a multitude of different feelings, sadness, regret, guilt, excitement and hope. Decision-making in the midst of this can be hard and I changed my position on things many times before I actually started pulling it apart. 

I'm sure if you've ever decommissioned a layout of your own or a family member's you may have encountered something similar. 


Looking bare again without buildings and people. 

I salvaged the bridges and wood structures. Perhaps I'll use part of them in the future. 

The remnant of the layout sitting at the bottom of the local refuse transfer station 


Friday, 14 March 2025

Moving the modules

So last year our time in Timaru came to an end. This is no surprise as it was only ever for the two years of my ministry training. The last few months saw the layout face the test it was designed for: dismantling, transporting and reestablishing in our new home in Christchurch (more about that another time). 

The dismantling part was easy. The lighting was unplugged, and the modules were uncoupled by removing the two bolts that connected each module together, which also undid the electrical connection between them. The temporary legs are also unbolted. They will be replaced with more substantial wooden legs.

The figures on the layout are glued in place with Mod Podge but the buildings were removed and packed in boxes. 

Each module was pleasantly light and easily manoeuvred by two people. I cut some plywood to cover the open sides. These cut pieces will get turned into the framing for new modules.

The original piece of the layout, which I built in Gore, was sadly decommissioned. It seems fitting to post about this separately later. 

The ravine module was the heaviest (unsurprisingly). Even so, two people could move without much effort.

The buildings came off, and were packed away separately, but the trees
and many of the figured stayed glued in place for the journey.

Ready for boxing...

Three of the modules are all encased in plywood. This made them very easy to transport.


Friday, 24 March 2023

The layout moved by rail...

So we made the move and have been settling into our new home over the last two and half months. This post is about the decommissioning and disassembly of the layout as it was.  

I only brought one (large) piece of the layout with me. In the end, it was a strategic decision. If I only brought half the layout with me, I would have a head start on building some new easily transportable modules and use them with the part of the old layout I brought. That way when I move again, I've got something to take with me and can continue building the new modular version of the Thoroughfare Gap Railroad. In the meantime, I get to run trains and enjoy some of my favourite scenes on the layout for another two years. 

The day before we packed it all down the whole family spent the evening running trains for the last time. Everyone got to run their favourite locomotive with whatever cars they wanted. I enjoyed making up trains and aligning switches and just seeing everyone else enjoying the layout. 

I wanted some sort of ceremony for the last trains on the layout. So I decided to have a special freight train to pull all the cars off the layout and into the fiddle yard. I used three locomotives, one in the lead and two as mid-train helpers. I'd never lashed up three locomotives together but it worked beautifully. No derailments and it looked great. 

Lastly, I ran a special triple-headed 6-car passenger train from Teresaton to the Erewhon Fiddle yard. Again, the trains performed flawlessly and it was a wonderful 'closing ceremony'. 

Then my Dad and I spent two days packing it all up. The first day was devoted to taking everything off the layout, trees, buildings, figures, rolling stock and locomotives and carefully preparing it for transportation. On the second day, we build a big plywood box around the portion of the layout that was going to move. It was awkward, because of the switch throw knobs and bits of scenery that protrude out of the layout's baseboard footprint. The final result was solid but heavy. 

Our movers loaded everything into a shipping container, which was transferred onto rail for the trip up New Zealand's South Island. I enjoyed that the trains travelled on the train. The great thing is that it all arrived intact and is ready for repopulating. 

I've set the layout up in my new space with the buildings, but no figures yet. I've started building the new modules, but more to come on that soon. 


The layout looked very bare before pulling apart the benchwork.


The Redwood forest was carefully packed into two large boxes for separate transport.


I had made a dedicated carrying case for the locomotives. 

The section of the layout that made the trip. On the ground, with the structural framing built around it. 


The layout is encased in plywood and ready for shipping.

The ravine section was passed on to become a part of another person's layout.


Saturday, 17 December 2022

The layouts going to move

The house we have secured for next year has a room for the model railroad, which is fantastic. So I've finally landed on taking the layout with me, reasoning that it will be faster to re-commission the current layout rather than start again completely from scratch. In the end, I really want to be able to run trains next year and share the layout with visitors in our new location.

I've started planning the deconstruction and my Dad and I will take it apart over the Christmas holiday while they are visiting. We need to remove and pack:

  • 270 people 
  • 36 structures
  • 28 redwood trees (including the big 750mm tall giant)
  • 51 pieces of rolling stock
  • 6 locomotives
I'm mindful that perhaps the layout may sustain some damage during transit so I'm taking some photos of the layout before the move, just in case. Enjoy. 


Monday, 31 December 2018

Whats the intent?


Galen Gallimore runs a great blog over at http://ocalicreek.blogspot.com/. Recently, Galen made a thoughtful post titled "Whats the intent?". In turn, his post had been inspired by a post on Mike Cougill's blog at http://www.ostpubs.com/whats-the-intent/. Their posts explored the rationale behind what we are trying to achieve with our model railroads. Galen issued a challenge for other modelers to share their thoughts about the intent behind their layouts so this is some of my thinking for my Thoroughfare Gap Railroad.

My decision to model the 1890's was very intentional. From the outset, I intended for my railroad to be a 'window into the past', with a distinct focus on the connection that railroads brought to communities. 

Before the turn of the century, your own two feet or a horse were the most common mode of transport and travelling 12 miles, or 20 kilometres by wagon was a big day. When the railroads arrived they more readily connected communities across the country. Journeys now took days rather than weeks or months and people and goods traveled more freely than ever before. Railroads become vitally important in building local and national economies.

My layout attempts to build the sense of connection in three ways:

1. Point to point design 
The track is arranged like a real railroad in that the track starts in one locality (Erewhon) and ends in another (Teresaton). The layout has no continuous running. I took some time to come around to this idea as every layout I had built featured continuous running and it was hard to break with tradition. However, it opened up opportunities for operation and scenery building which further add to the sense of connection. 

2. Different scenery for different localities
The drier canyon contrasts with the green deciduous forest around Cass. This
gives a sense these places are quite different localities. 
Changing the type of scenery for each locality gives the impression the railroad covers vast distances. This was mentioned in my track plan post where I mentioned the influences of John Olsen's Mescal Lines and his colour mood technique.

I tried to place the transitions so scenes change in a logical way. The drier canyon changes to long grass land, to deciduous forests to towering redwood forests, to a snowy mountain pass. I have also made use of scenic barriers via ridges and trees to create separate scenes. 
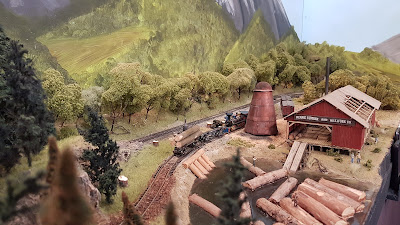
The scenic variety can give the sense the railroad covers a vast distance.

3. Scale people
A railroad does not just connect localities or industries, it connects people. People need to travel from place to place and send and receive goods. In the 1890s, railroads were a key part of life and a larger portion of the population would interact directly with the railroad, either via passenger trains or sending and receiving the goods for their business, no matter how big or small.

My layout features many HO scale figures, possibly more than average. I’m very lucky that my father enjoys painting the figures and he is always generously finding new period figures to go on the layout. One day I’ll do a post focusing on his work.

On the Thoroughfare Gap Railroad, you will see passengers crowding the station platforms, waiting for the next train. The team tracks are bustling with workers and Teresaton’s main street is a hive of activity, the townsfolk shopping for the latest wares brought in over the rails from somewhere far away.

I feel the presence of the figures gives face for the railroads connection. The railroad isn’t just serving a set of industries; it is enable the people and their goods to travel to other places on the layout. 

A stagecoach prepares to leave Teresaton. Rail head towns became important hubs for those needing to travel further afield.
Compared to the train, stagecoaches were limited in capacity and more uncomfortable.

Overall my intent was to demonstrate the important role played by railroads in connecting communities during the 1890s. I tried to achieve this by making the trains travel in a point to point fashion through varied scenery and localities and making the people the railroad serves a principle modelling subject.

I’m interested to hear what the intent behind your model railroad is.  Leave me a comment with your thoughts or a link to your blog post. If you haven’t yet built your model railroad, what are you hoping to capture?

Sunday, 10 September 2017

Blog resurrection

It's been over a year since I have posted anything at all. That does mean I've not been working on the railroad.
One of my last posts was about about staging yard which was about to be sceniced, I'll post some photos of that soon.
I've also been making redwood trees, troubleshooting derailments and replacing trucks and wheelsets on older rolling stock.
More to follow soon.
I'm going to try to make a blog post every two weeks. It may just be short and sweet but it will make a consistent record of the layout.
Luke

Friday, 15 July 2016

The railroad

The Thoroughfare Gap Railroad connects the settlements of Teresaton and Cass with Erewhon (staging) which goes on to interchange with the Union Pacific transcontinental mainline. I haven't settled on an exact locale for the meeting point which does give me some modelling license. I've found it easier to not pick an exact location as it allows to me model scenes that I want to include. 

The layout started life 9 years ago as a 1200x2000mm (4x6.5 feet) table layout which focused on rugged, arid canyon scenery. To begin with it was more of a rail fanning layout with some switching interest at the end of the line. I also enjoy the bush and mountains, so when I discovered the desire to operate my railroad in a more realistic point to point manner I found the space to build an extension around the walls, essentially using the table layout as a double sided peninsula. The extension models both a deciduous and redwood forest in seperate scenery areas and includes a logging area and sawmill as well as the small town of Cass. Presently the trains travel out onto a temporary staging area representing Erewhon (nowhere spelt backwards). I plan to build a more permanent section that would model some of Erewhon and I'm interested in exploring making all of part of this a snow scene.


Two lumberjacks pose the stump of a recently felled redwood. 

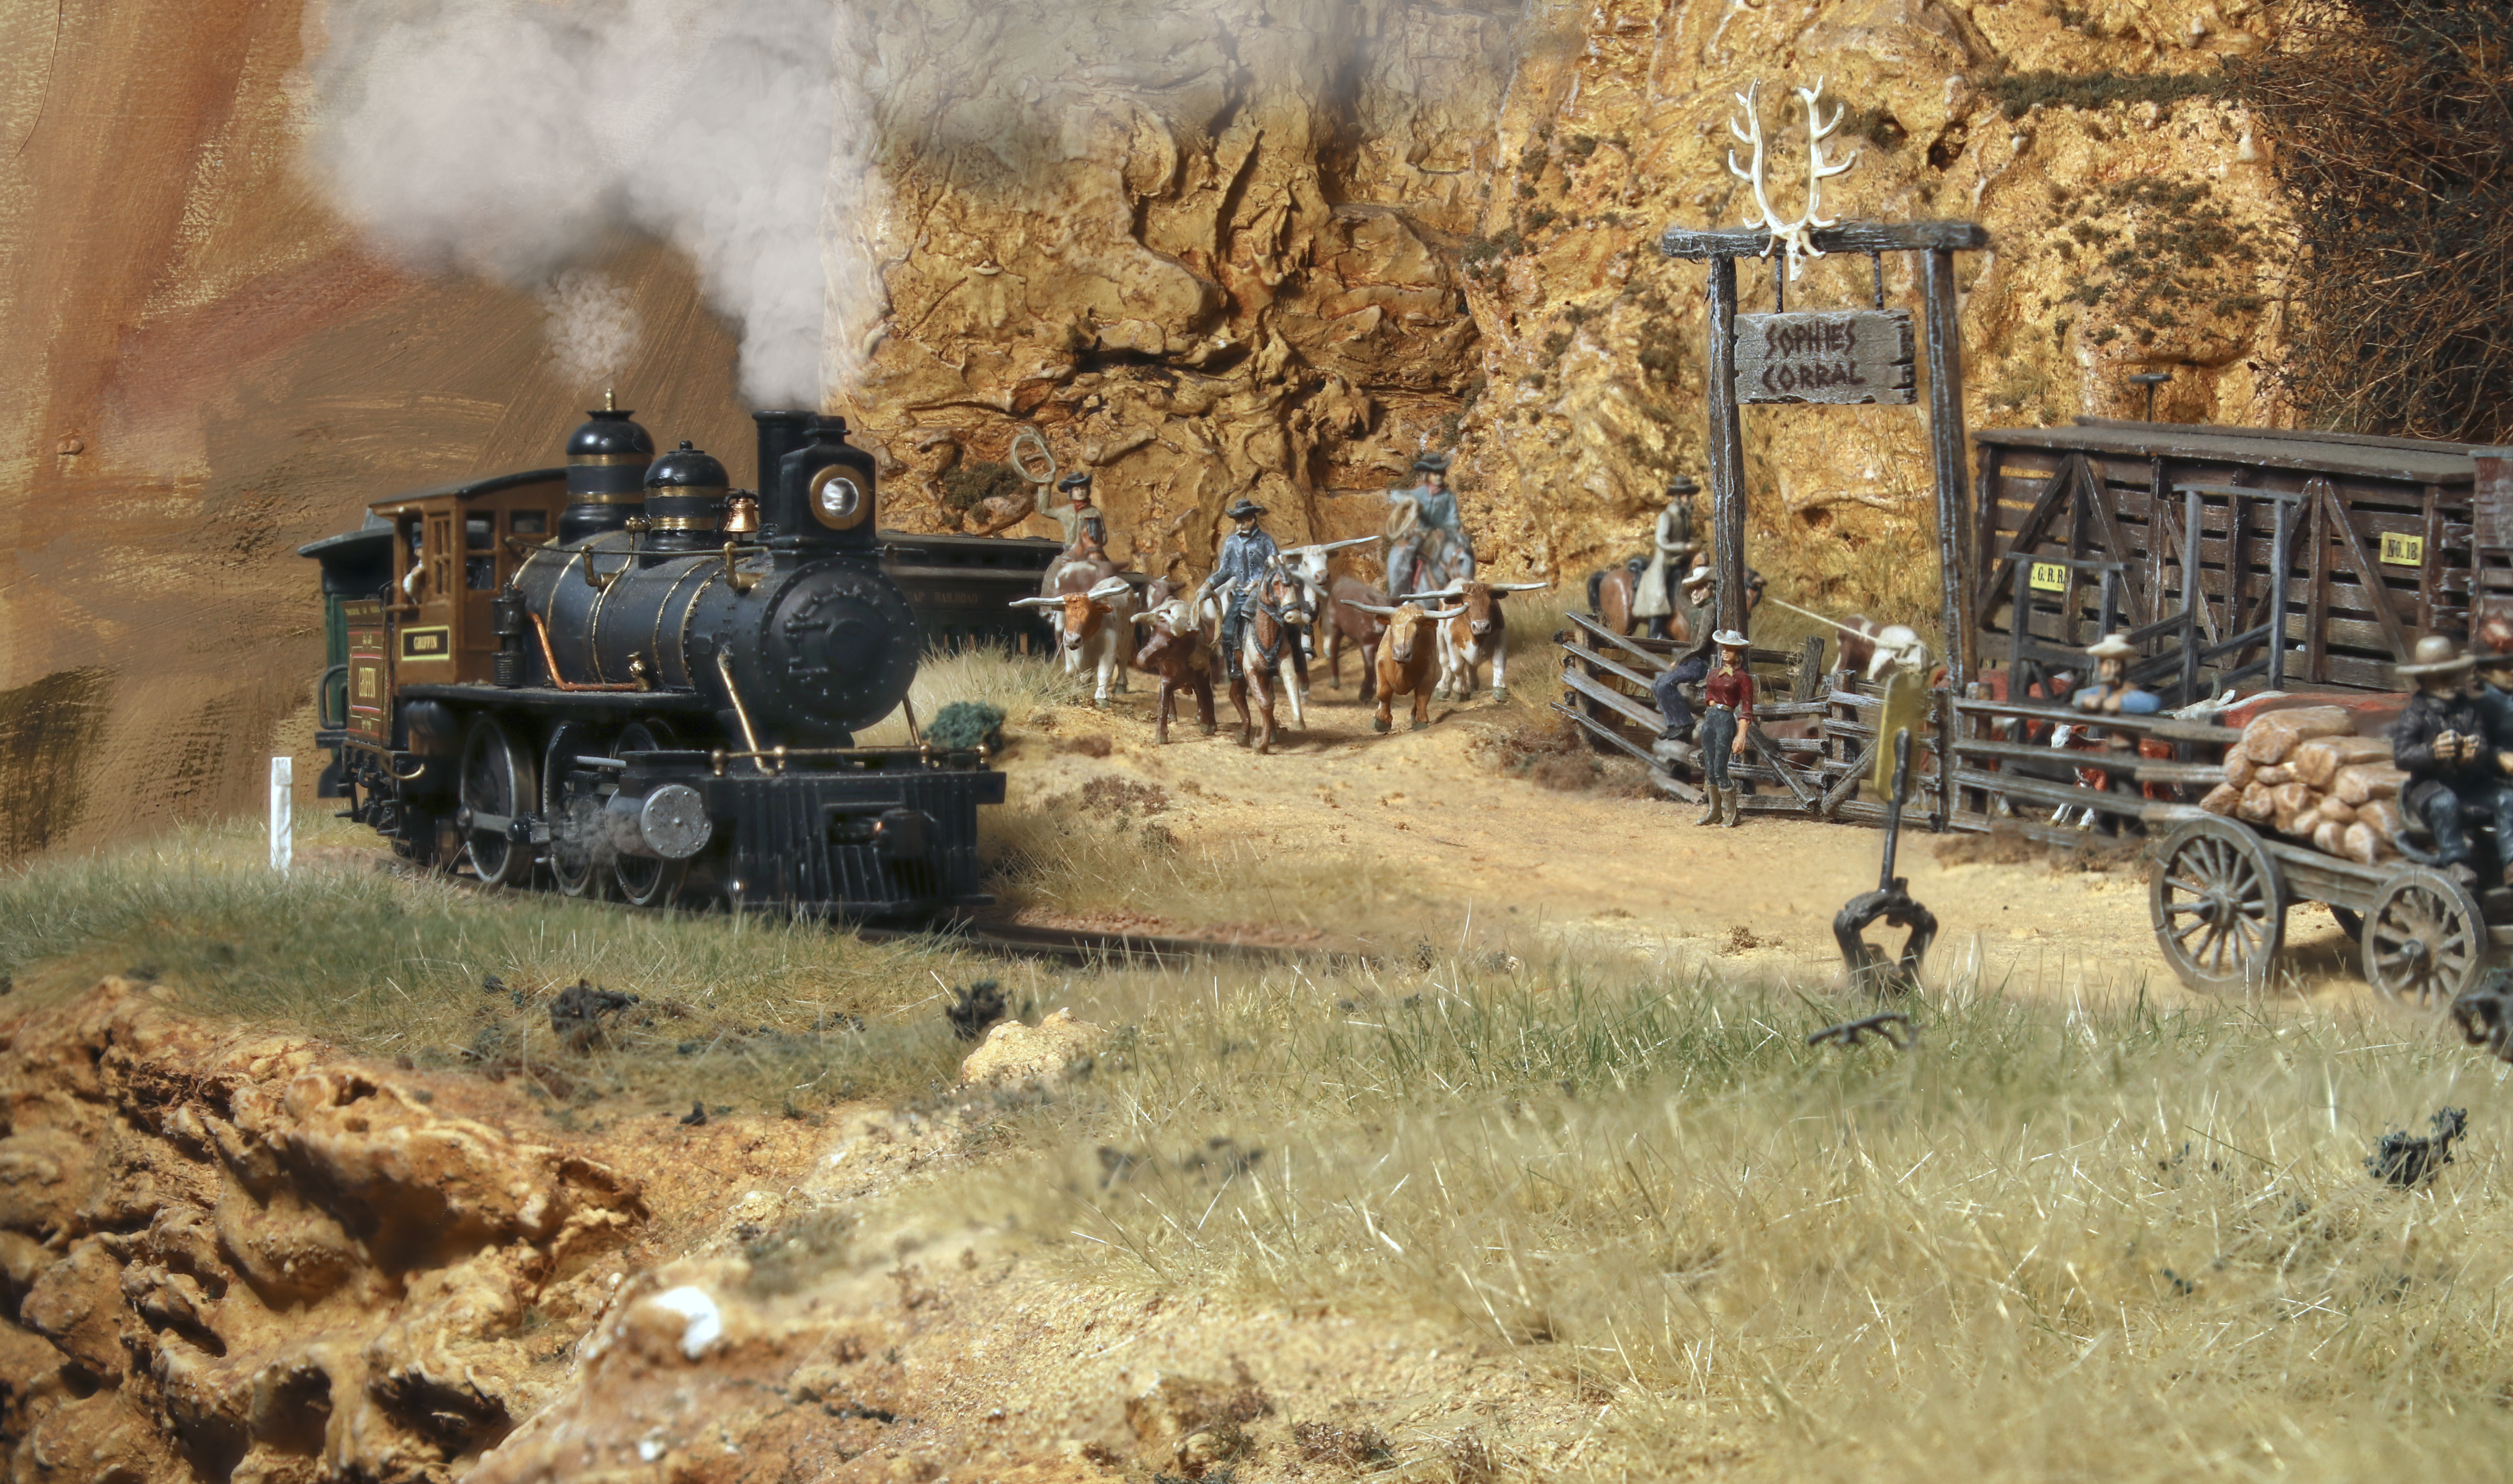
The line coming into Teresaton. A cattle drive approaches the coral.


Teresaton's main street


The first extension, the logging area and redwood forest before the forest.


Monday, 11 July 2016

The Thoroughfare Gap Railroad

Currently the layout has been eight years in  the making, and has grown from a 4x7 foot design to a point to point style that travels  around two of the garage walls. I've learnt a lot in that time and certainly the vision for the layout has continued to evolve.  As they say,it is never finished. 

I started this railroad in my mid 20s after having been away from model railroading since my early teens. A lot had changed, access to information on the Internet for one, and online shopping meant accessing ho equipment of American prototypes was a whole lot easier and faster (I live in New Zealand). DCC and on board sound we're the norm and there were a lot more TOC19 (turn of the 19th century) themed products available.
I was bitten by the early rail bug when I was younger, my father was interested in the history of the American Civil War and the Old West and passed his fascination of this time period on to me. He paints 25mm war gaming figures and has painted all the figures for my layout and some of the structures.

My first steam locomotive was a Bachmann 4-4-0 model of 119 I received for Christmas as a child, a model I still owned until just recently. The roster now stands at five operating steam locomotives plus Thomas the tank engine for the kids.

I've recently converted the layout to DCC using a Sprog and an old laptop and have equipped all the locomotives with tsunami sound decoders. This has been an exciting addition and has seemingly expanded the operating potential of the layout. The layout is small and being able to run two locomotives easily on the same track without tricky block control has meant I can fit in more train movements.

The real benefit I've seen of converting to DCC is when visitors come to the layout. Most of my visitors are not model railroaders and are intrigued to see the "train set" as they call it. Being able to hand them a smart phone throttle, give them a few pointers and away they go really engages them. Before hand they had to understand the blocks and power districts of the DC block control, now they just run. The controls are simple and straightforward. I will through the switches for them to begin with but most pick it up in five minutes or so and I can leave them to it and start to run to other train movements. It seems to me that a smart phone is something we are all familiar with, and all the buttons actually say what they do, there is no guessing what F11 does as you might with a specialist DCC throttle.

I held out against DCC as long as I could. I've been trying to building this layout on a budget using what I had and for a large part that has been a successful paradigm. But when I purchased the two sound value new tooled 4-4-0's by Bachmann I new I had to do something. When they arrived the chuffing was out of sync (you'd wonder why that couldn't be set right at the factory) and I starting looking for another layout owner with DCC to change the CVs for me. I could only find a train store 40 mins down the road that offered DCC installs. I then found the Sprog, and figured for NZ$100 I could do all my own programming (which was good seeing as I had more decoders on the way for my other engines). I already had some old smart phone handsets and the old house laptop had also been superseded by a desktop machine so it could be relegated to the layout room.

Hindsight is a wonderful thing and I wish I had converted sooner!


Monday, 20 June 2016

Welcome

Welcome to my blog about the construction of my freelance HO scale model railroad set somewhere in the American West. This is the first layout I have attempted by myself and so far it  has been seven and a half years in the making. I work a job and have a young family so sometimes progress can be slow. I'll try and post something on here once a month that shows the progress on the layout