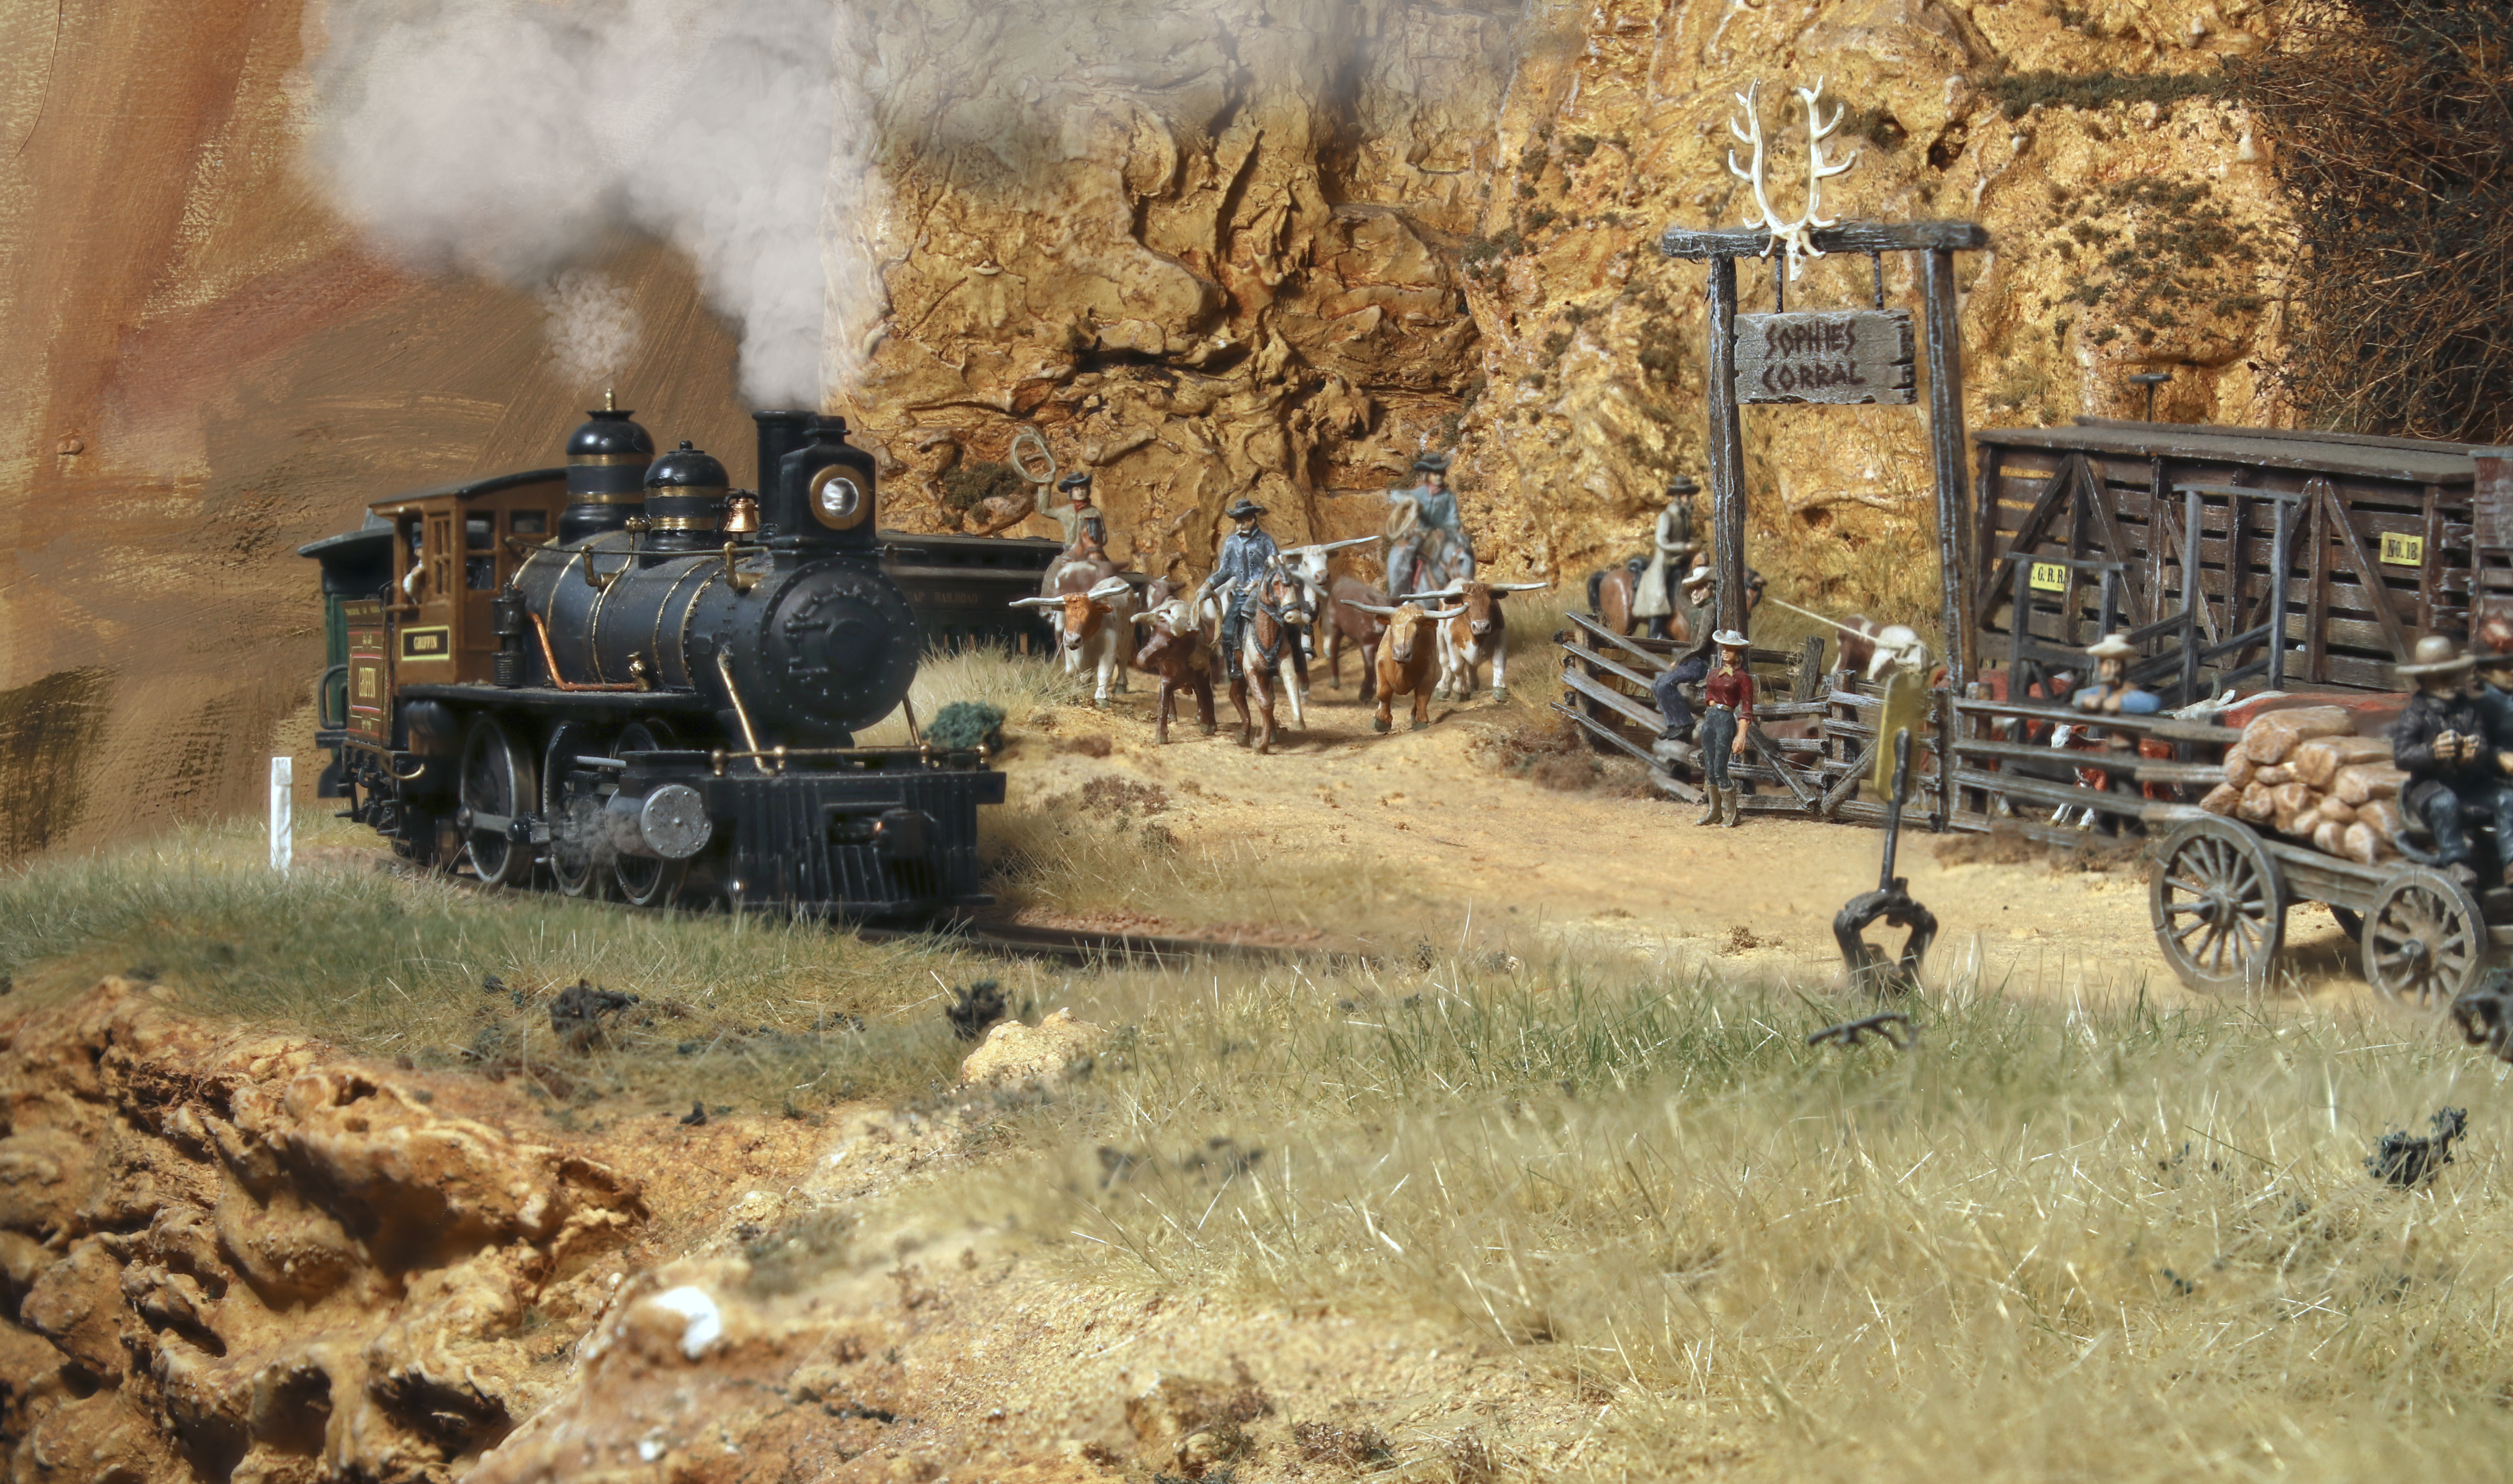
Sunday, 2 April 2023

New modular layout benchwork

I've started chipping away on the construction of my new layout modules that will connect up with the part of the old layout I brought with me. I settled on the modules being 1200mm long x 600mm deep. 

I contemplated doing something similar to  FreeMo style modules without a backdrop. But then I found this idea from a user on the MRH forums and I decided I did really want a backdrop and in built lighting. This way, when the layout moves again, each module can be packed up relatively easily and transported as is. Maybe, I may even be able to take the modules to a train show one day. 

I've got room to build five modules in my current space. I'll share a track plan in a future post, but the priority is to build a yard area with enough capacity for all my rolling stock and locomotives, so I don't have to have any off layout storage. That way I can run trains in a point to point manner, as I did on the old Thoroughfare Gap Railroad. I'm hoping to have a roundhouse, which will be a new addition. That would go nicely with one of my turntables and engine servicing facilities. 

I've decided to minimise the grades on the layout to maximise the pulling power of the little 4-4-0's, which always tended to struggle with the steep grades on the old Thoroughfare Gap layout. That doesn't mean I won't have any dramatic scenery though. While the track height will remain mostly the same, the scenery in some modules will extend for some distance above and below the track, like it did in my redwood foreste/ravine module that didn't make the move. 

So far I've put together the benchwork on two of the modules. I'll be working away on them as I get the time over the next while. I need to make some legs and I'm thinking I'll make the track level about 125cm (49 inches) off the ground as it seems to be a comfortable height for me. How high did you decide to make your layout? If you started again would you go higher or lower?
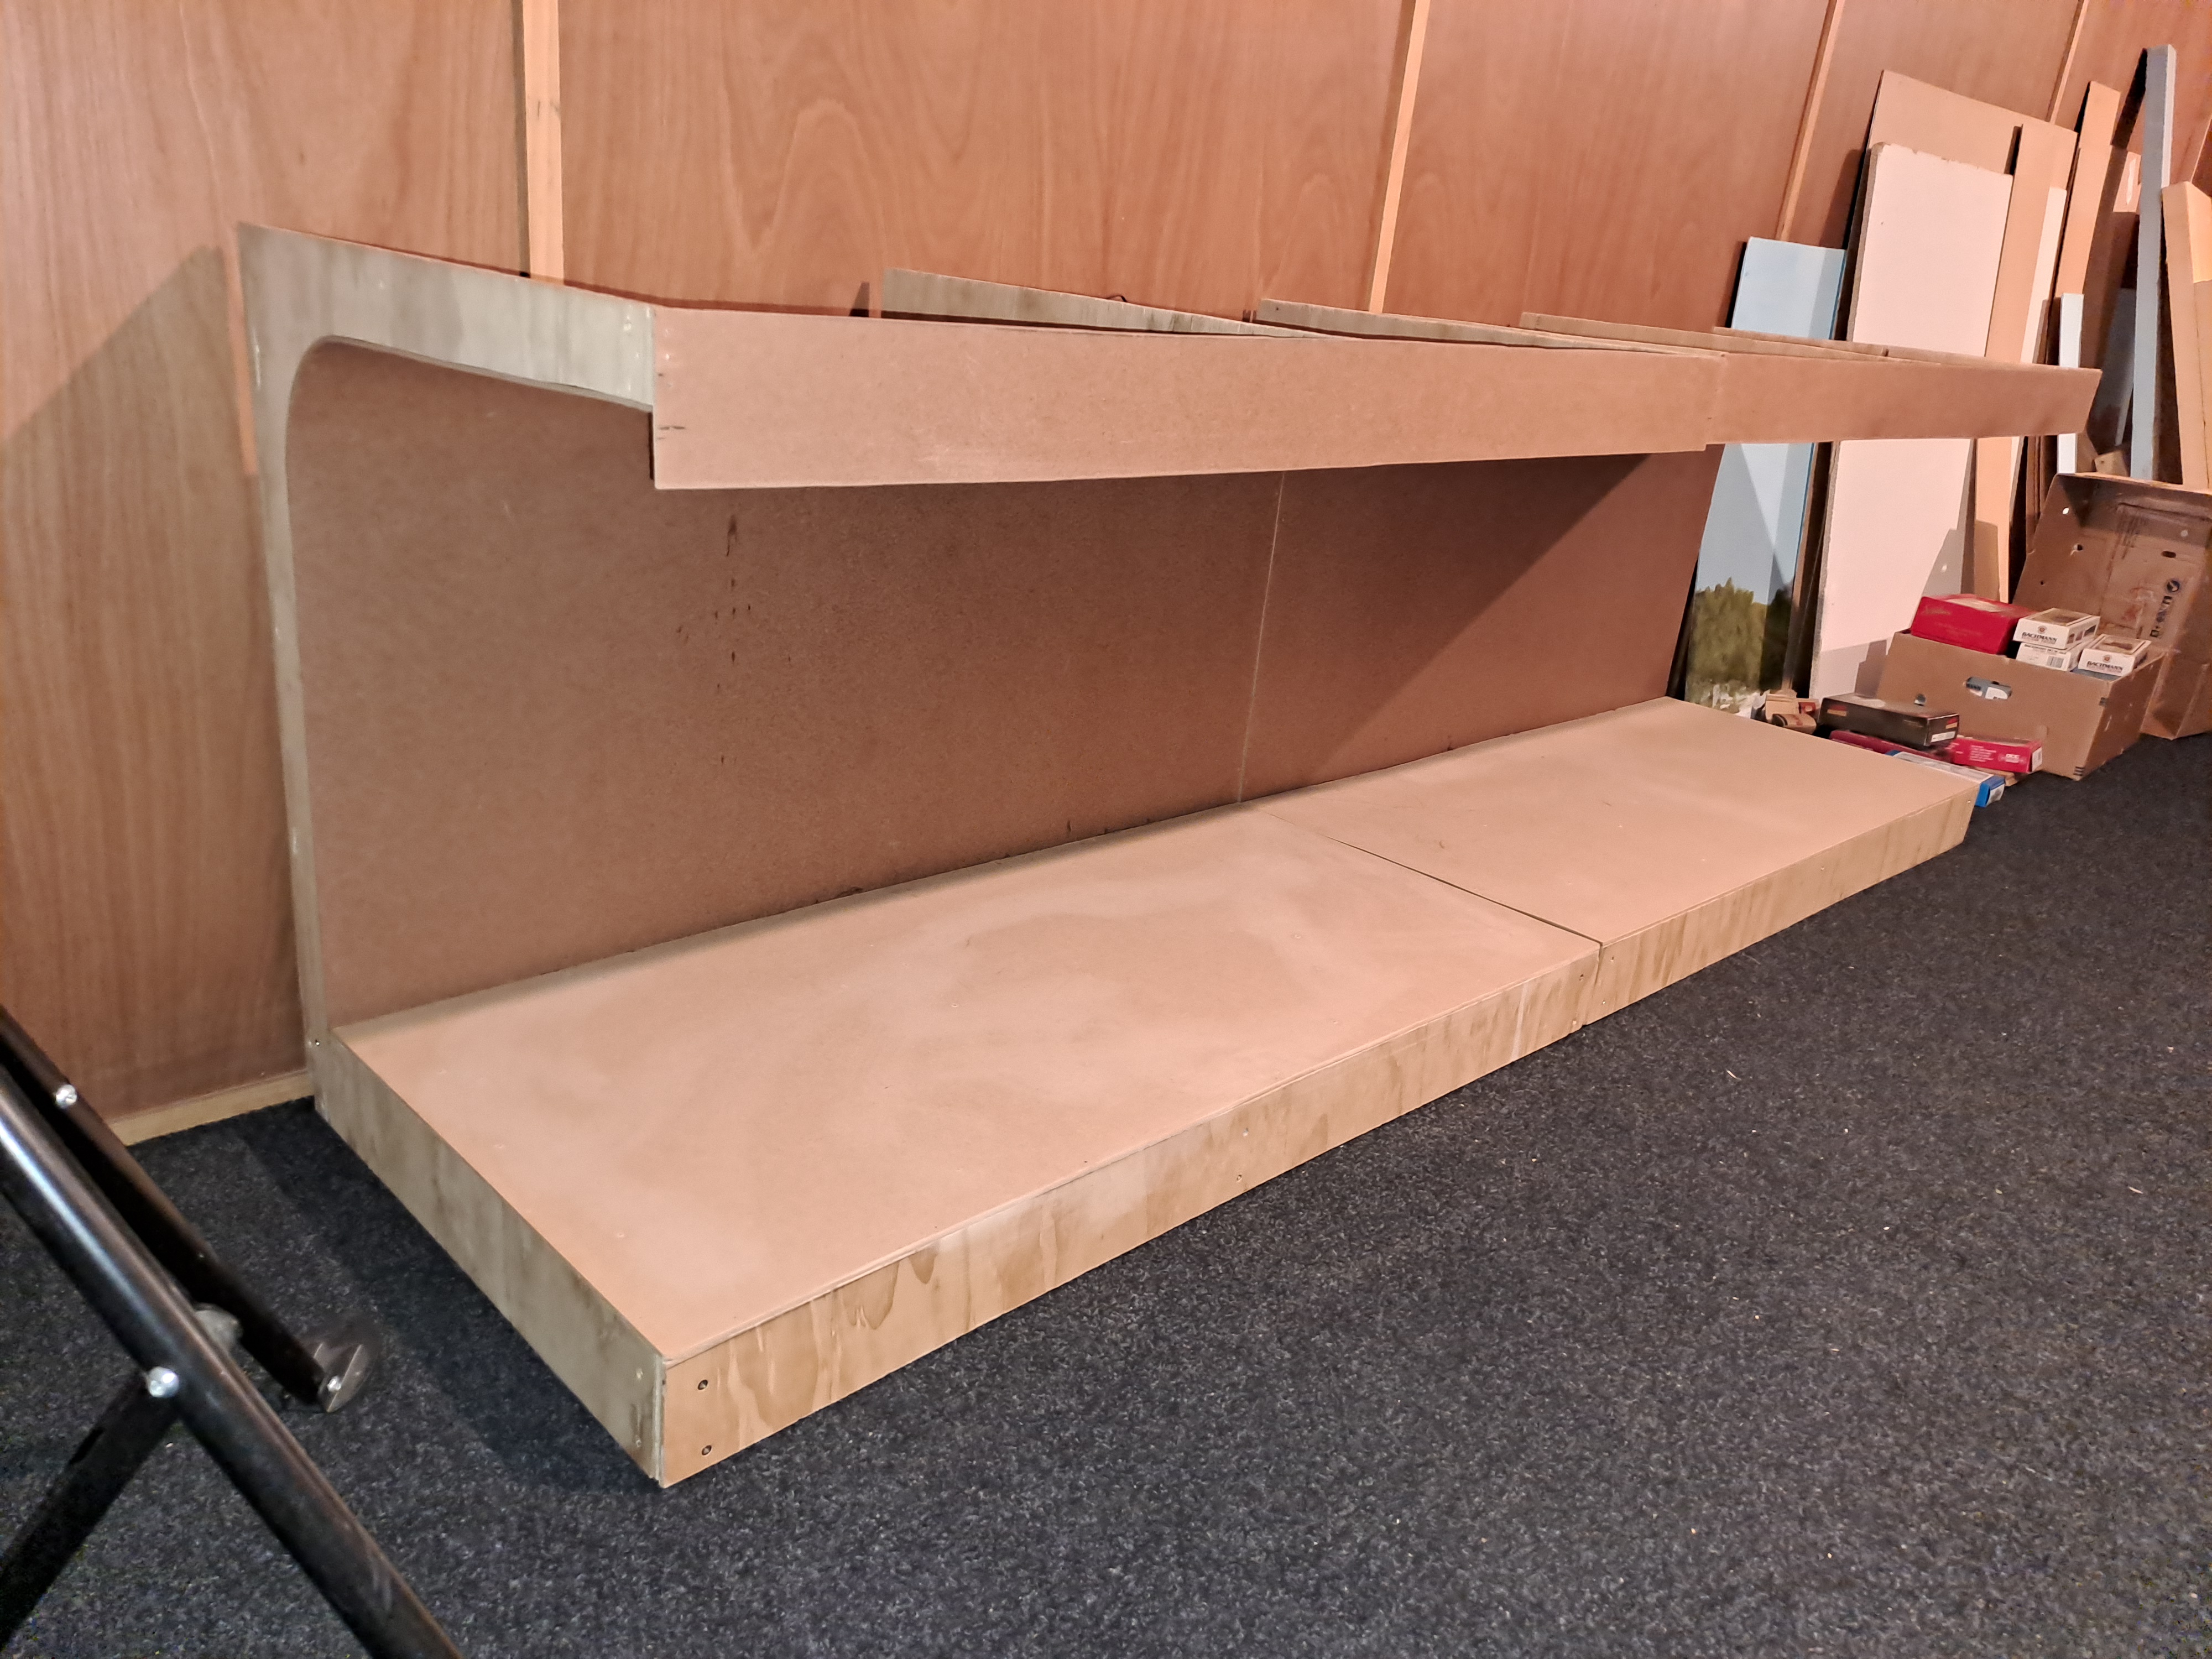
Two modules in need of legs... (and some models). 


Friday, 24 March 2023

The layout moved by rail...

So we made the move and have been settling into our new home over the last two and half months. This post is about the decommissioning and disassembly of the layout as it was.  

I only brought one (large) piece of the layout with me. In the end, it was a strategic decision. If I only brought half the layout with me, I would have a head start on building some new easily transportable modules and use them with the part of the old layout I brought. That way when I move again, I've got something to take with me and can continue building the new modular version of the Thoroughfare Gap Railroad. In the meantime, I get to run trains and enjoy some of my favourite scenes on the layout for another two years. 

The day before we packed it all down the whole family spent the evening running trains for the last time. Everyone got to run their favourite locomotive with whatever cars they wanted. I enjoyed making up trains and aligning switches and just seeing everyone else enjoying the layout. 

I wanted some sort of ceremony for the last trains on the layout. So I decided to have a special freight train to pull all the cars off the layout and into the fiddle yard. I used three locomotives, one in the lead and two as mid-train helpers. I'd never lashed up three locomotives together but it worked beautifully. No derailments and it looked great. 

Lastly, I ran a special triple-headed 6-car passenger train from Teresaton to the Erewhon Fiddle yard. Again, the trains performed flawlessly and it was a wonderful 'closing ceremony'. 

Then my Dad and I spent two days packing it all up. The first day was devoted to taking everything off the layout, trees, buildings, figures, rolling stock and locomotives and carefully preparing it for transportation. On the second day, we build a big plywood box around the portion of the layout that was going to move. It was awkward, because of the switch throw knobs and bits of scenery that protrude out of the layout's baseboard footprint. The final result was solid but heavy. 

Our movers loaded everything into a shipping container, which was transferred onto rail for the trip up New Zealand's South Island. I enjoyed that the trains travelled on the train. The great thing is that it all arrived intact and is ready for repopulating. 

I've set the layout up in my new space with the buildings, but no figures yet. I've started building the new modules, but more to come on that soon. 


The layout looked very bare before pulling apart the benchwork.


The Redwood forest was carefully packed into two large boxes for separate transport.


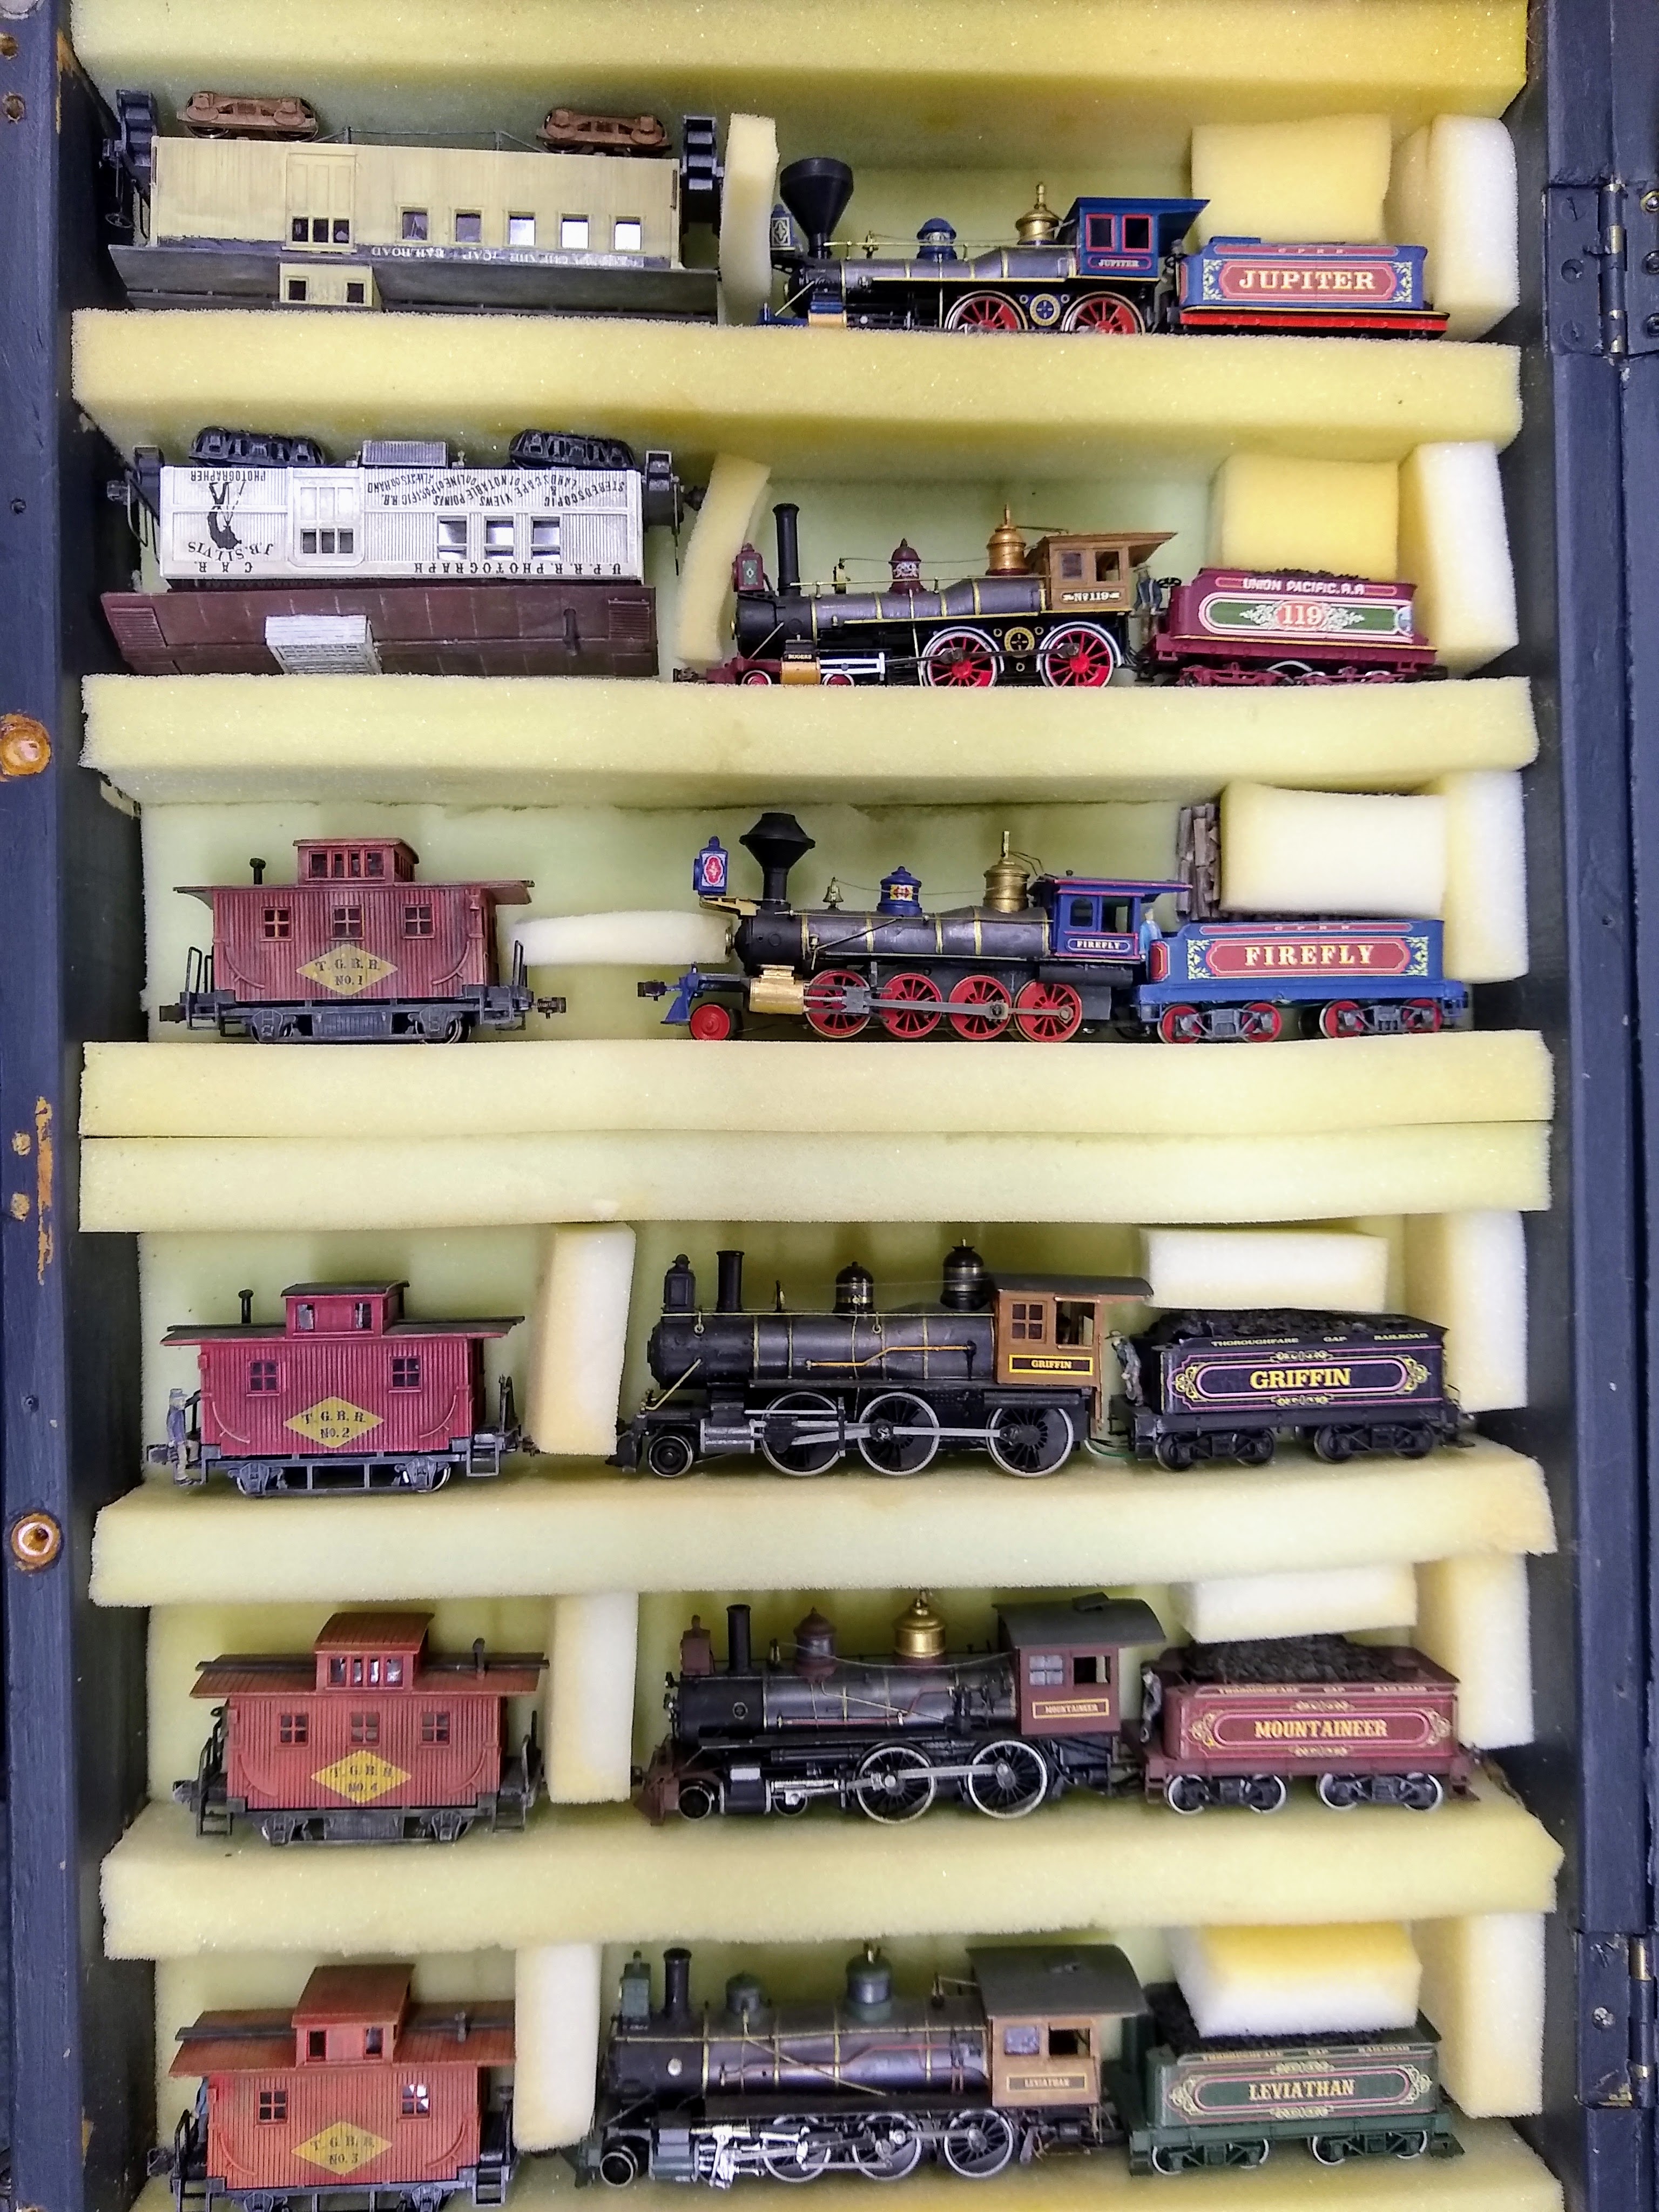
I had made a dedicated carrying case for the locomotives. 

The section of the layout that made the trip. On the ground, with the structural framing built around it. 


The layout is encased in plywood and ready for shipping.

The ravine section was passed on to become a part of another person's layout.


Saturday, 17 December 2022

The layouts going to move

The house we have secured for next year has a room for the model railroad, which is fantastic. So I've finally landed on taking the layout with me, reasoning that it will be faster to re-commission the current layout rather than start again completely from scratch. In the end, I really want to be able to run trains next year and share the layout with visitors in our new location.

I've started planning the deconstruction and my Dad and I will take it apart over the Christmas holiday while they are visiting. We need to remove and pack:

  • 270 people 
  • 36 structures
  • 28 redwood trees (including the big 750mm tall giant)
  • 51 pieces of rolling stock
  • 6 locomotives
I'm mindful that perhaps the layout may sustain some damage during transit so I'm taking some photos of the layout before the move, just in case. Enjoy. 


Tuesday, 22 November 2022

Moving... to bring the railroad or start again, that is the question.

So the exciting news is we'll be relocating early next year to continue my ministry training. We're in the process of looking for somewhere to live and of course, a prerequisite is that any house/garage must have space for a model railroad. I'm just not sure if that space should house THIS model railroad or a new version of the Thoroughfare Gap Railroad.


Taking the current version of the Thoroughfare Gap Railroad in some ways is easier. Yes, it will be a challenge but it can be done. My practical-minded friends and our moving company all have good ideas for shifting it safely. Inevitably there will be some damage and some time will be needed to set everything up and troubleshoot issues. But I could be running trains again pretty quickly. My internship is for two years, so we will be likely moving again soon. Perhaps I'm getting ahead of myself, but I'm not sure I'd want to move the layout twice (but then again, why not).

Starting a new version of the Thoroughfare Gap Railroad (ie dismantling this one) sounds exciting, but also daunting. Do I really want to be building a new railroad during this season when I'm still focused on my training? While I may be pressed for time, starting again does have some advantages. I'd build something modular so that it could be moved easily. This would mean I can also build just a couple of modules at a time so there would be no pressure to get the whole thing done. Furthermore, it would be a good opportunity to fix all the design issues I have with the current layout, the core of which is 15 years old. There are things I'd not do again. Is this an opportunity to start again with a clean slate? Of course, it would not be a complete build from scratch. I'll keep all my trees, buildings and scenery details, and possibly some bridges could be repurposed. But, the landscape, backdrops and trackwork will have to be new.


Currently, I'm oscillating between the two options. I do enjoy the creative outlet of building scenery. But, I also really enjoy running trains. While I'm making up my mind, I want to share the railroad with others. So I'm preparing to have an open house where I'll be inviting people to visit the layout before its move. I also plan to take more photos of the layout, which I'll share here too. 

Have you had a similar situation? Did you take your layout with you or decide to start again? 


Saturday, 19 February 2022

So its been a year

Wow, so it's almost been a year since I posted last. Back in July I did post a new video to my YouTube channel but neglected to post a link here. So here it is below for those that haven't seen it.


Truth be told the last 12 months have been very busy and I have been completely immersed in my studies.  I am scheduled to begin a training internship for ministry in the Presbyterian Church of Aotearoa New Zealand (PCANZ) in 2023, but there is some uncertainty about where it may be. Because of this, I've found that my motivation to continue building my layout has evaporated. It doesn't seem to make sense to continue to pour creative energy into a layout that may be mothballed or moved. Of course, I may be able to stay where I am, which would mean the layout can stay as well. But in the meantime, development is on hold.

 Over the next twelve months, I aim to take some more focus stacked photos and more videos of the layout to document the layout, in case it is eventually moved. I'll post them here when I'm able. 

So I have not been building, but I have been running trains. I used to run a car card and waybill system, but lately, I've just been running whatever trains I have felt like. My son is showing more interest in operating the layout so I may see how he likes the car card system. Perhaps our experience may be covered in a future post. 

So apologies for the radio silence. But hopefully, I can have a few more posts in the coming months. 

Monday, 8 March 2021

Traction tyre repairs to Bachmann New Tooling 4-4-0

The other day I noticed that 119 was limping along the track. It looked like the locomotive would hit a pothole and bump up and down. I took it off the track and found that the track tyres, which are fitted to the front drivers, had perished and had snapped. The remnants of the tyre were just sitting the groove on the driving wheel. Each time the gap in the traction tyre passed over the rail, the locomotive would dip.

This was not a surprise as I had noted that the tyres had been degrading for some time. Before Christmas, I replaced the tyres on the Jupiter after observing a similar failure. I'm not sure what caused the degradation. I used to have several of the old design Bachmann 4-4-0's which also had traction tyres and never had any problems with them. 

I first noticed the degradation after I had been using CRC contact cleaner to clean the tracks about two years ago. I stopped using the contact cleaner and the degradation continued. So perhaps it was just the nature of the tyre used by Bachmann for the new tooling model, in combination with some other factors of my layout environment.

Anyhow, the fix was pretty easy. I found some traction tyres online from a New Zealand based hobby shop for Marklin models, but they fit the Bachmann locomotives fine. I used their 10.4mm diameter tyres, which do stretch for a nice fit on the Bachmann locomotive. 

I laid the locomotive on its side and used a small set of pliers to gently undo the small bolt holding on the connecting rods to the front driver. I swung the connecting rods out the way and removed the old tyre. Then is was a case of slipping the new tyre on. I found it easiest to slip it over the top of the driver, then using a pair of tweezers, applied tension to seat the tyre in the groove. Then it was a case of assembling the connecting rods and turning the locomotive over and doing the other side. 

Now 119 runs smoothly again. It will be interesting to see if the Marklin tyres have a better, worse or similar lifespan. 

The remnants of the old tyre can be seen curling around the edge of the front driver. (The drawing pin just propped the locomotive up for the camera).

I used tweezers to help pull the tyre onto the driver.


Monday, 15 February 2021

A Train Robbery - Diorama

It's been three months since I've posted anything to the blog. Being in the southern hemisphere, its summertime. That has meant I've been spending time with the family on outdoor adventures and the layout has not had much of a look in.

Since the kids went back to school a couple of weeks ago I've found some time to run some trains. I'm also building a diorama for my Dad to try and capture something of the essence of the train robbery at blue cut from the opening scene of the movie the Assassination of Jesse James by the Coward Robert Ford. The diorama also is inspired by the song "A Train Robbery" from the 1980's album "The Legend of Jesse James", sung by Paul Kennerly. Levon Helm (who sung the part of Jesse on the album) also recorded a version of the song on his 2007 album, Dirt Farmer. 

A basic mockup of the scene to test the concept. More figures will be required further up the bank on the left.

The diorama is quite small and when finished will sit on a shelf in his study. As such, it is designed with only one viewing angle. This allowed me to experiment with some forced perspective techniques. The rails were glued to individually stained balsa wood ties and ballasted in place. They are S scale in width at the front and HO scale at the rear. The base is made from foam and covered with real dirt, static grass and rock moulds.

The trees are conifers, which line up with the words of the song. Although the movie shows deciduous trees. I chose to run with the conifers as I would need to produce less of them and also have found a technique I'm comfortable with using. They also block off parts of the scene and force you to look into the scene a certain way.

The backdrop was painted using my usual technique, learned from Chris Lyon on YouTube. However, I added a dark blue/black wash over the backdrop scene to try and mimic the feel of the night. 

The locomotive is a static 4-4-0 model of no particular prototype, made from leftovers in my box of bits. The drivers, stack, headlight and pilot are from an IHC 4-4-0, the boiler from a Roundhouse 2-8-0 and the cab from a Bachmann Spectrum 4-6-0. I filed off the arched roof and made a flat pitched roof from styrene. The chassis is carved from a chunk of balsa wood.  It still needs to be permanently assembled but I'm waiting till after I've installed the wiring for the lights. 

I repainted an Old Time Bachmann 4-4-0 tender and photographed it with one of my baggage cars. Manipulating the image in photoshop I created a cut out of the train to paste onto the backdrop. This gives the train an appearance of length and also contributes to the forced perspective.

The Diorama will have its own roof but no downlights. The only light will be from the locomotive firebox and headlight, the lantern at Jesse's feet and the sparks from the brakes and smokestack. I hope to be able to model some smoke to add some volume to the sky. I'm wondering if the explosion techniques used here by Bjørn Jacobsen for military dioramas could be adapted to locomotive smoke and wood sparks. It's worth an experiment anyway. Hopefully, all these elements will create a sense of drama and mood. 

The next step is to tackle the wiring for the lights. I need to give some thought to this as the diorama will sit next to two others on the shelf. The system ideally would power all three dioramas, and I need to make connections so each diorama can be plugged into the same power source. With the lighting in place, I can get an idea as to where the shadows may fall and that may inform the placement of the figures. Or then again it may not.