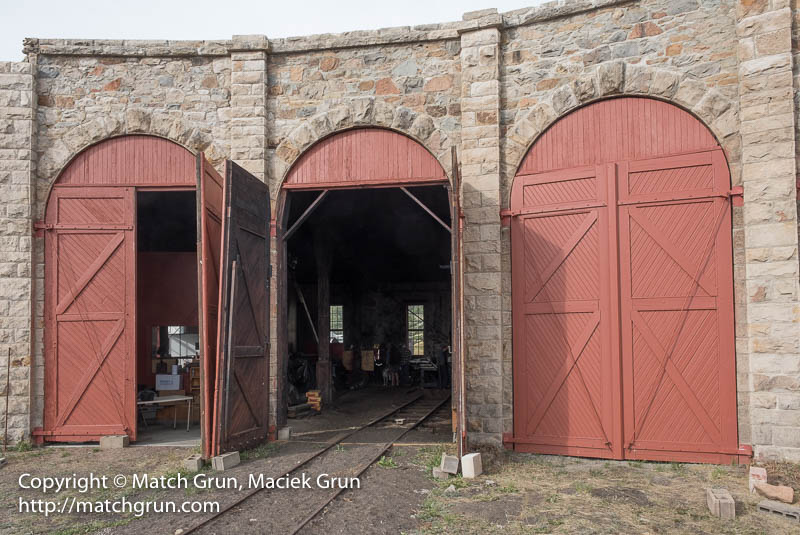
While most of the buildings from the old layout are being reused for the modular layout, I was excited to have space in my design for a roundhouse. Early on I decided I would like to base the building on the Denver, South Park and Southern's stone roundhouse at Como, Colorado. This structure, which survives today and has been preserved, was built in 1881. In its current configuration, the engine doors have been squared off. I read somewhere when this occurred, but I can't recall what the year was. But it was sometime after the turn of the 19th century. I will be modelling the doors as full length, with the arch.
There is a kit available for this building, but I wanted to scratch-build something to suit my space. I also knew that my track geometry coming off the turntable was not perfectly spaced, due to the way my yard tracks lined up with the turntable pit.
The most attractive feature that I want to model is the rough-cut stonework. I had read several articles about modelling European stone buildings using air-dry modelling clay. After figuring out the measuments, I decided to start with the wall closest to the layout's edge.
I created a wall template from thick cardboard. This allowed me to cut out window and door spaces and would give the clay some support. I brushed on a thick layer of Mod Podge and then rolled out the clay on top, trimming it to fit, using the cardboard template as a guide.
Then using a pick, I started carving the grooves for the stonework. My blocks are larger than the prototype, and the grooves are likely out of scale too. However, I'm pleased with the look that I achieved.
While carving there is a lot of clay 'flash' that makes the carving look terrible. In my first attempts I tried to remove this and ended up making a mess. Then I read an article where they they said the secret is to leave all the clay 'flash' in place and brush it off when its dry. This worked really well and as the clay dried over the next day or so I felt it kept looking better and better.
Finally, I test fitted some engine house windows, which I was pleased to find fitted perfectly. I'll paint the window frames and doors a similar shade of red to the prototype.